Checklist for Verifying Component Compatibility Before Upgrading
Planning a component upgrade requires more than picking faster parts — it demands checking mechanical fit, interface compatibility, power and cooling capacity, and firmware support. This short checklist highlights the key points to verify so upgrades proceed smoothly and components work together reliably.

Upgrading individual components can extend the life and performance of a system, but compatibility issues cause most failed or frustrating upgrades. Before you buy parts, run through a structured checklist that covers the motherboard and socket, CPU/GPU pairings, RAM type and capacity, storage interfaces, power and cooling requirements, and connectivity for peripherals. Verifying these areas reduces surprises during installation and improves long-term system stability.
Motherboard: what should I check?
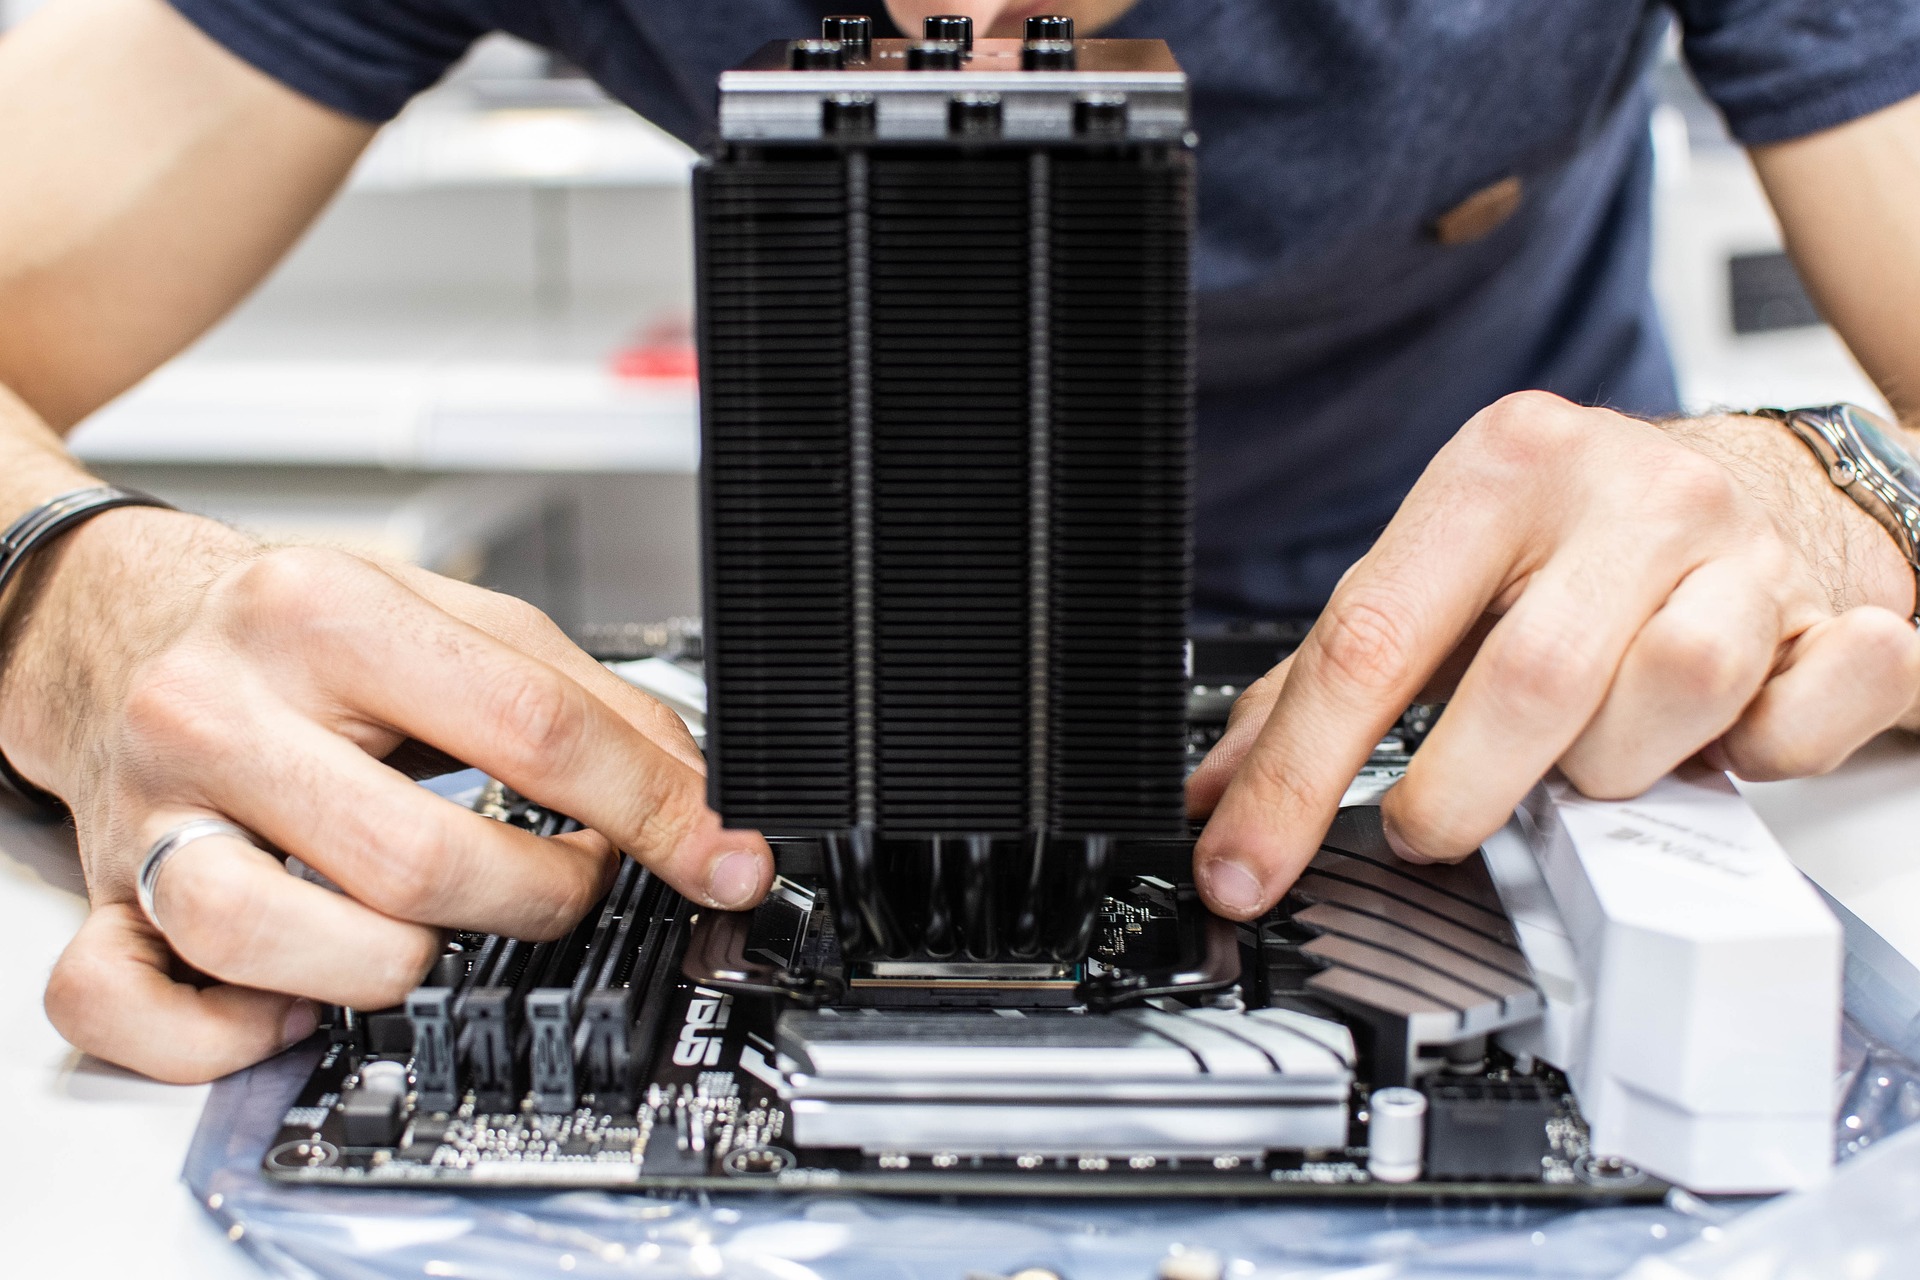
Start by confirming the motherboard’s supported CPU sockets and chipset families, since socket mismatch immediately rules out many CPUs. Check supported RAM types (for example, DDR4 versus DDR5), maximum capacity and per-slot limits, and any restrictions on RAM speed. Inspect available expansion slots (PCIe versions and lane allocations) and M.2 or SATA connectors for storage. Review the motherboard manual for BIOS/UEFI update notes: some newer CPUs need a firmware update. Lastly, verify physical layout and clearances, because heatsinks, tall RAM, or large GPUs can conflict with nearby connectors.
CPU and GPU: how should they be paired?
Confirm the CPU is listed on the motherboard’s CPU support list and that the socket and chipset match. For GPUs, check that the board has a full-length PCIe x16 slot and whether the BIOS supports the PCIe version the GPU expects. Consider balance: a very old CPU can bottleneck a modern GPU, reducing effective performance. Verify that the case has sufficient clearance for the GPU’s length and thickness and that the PSU provides the required PCIe power connectors. Review driver support for both CPU-integrated features and discrete GPU on your operating system to avoid functionality gaps after the upgrade.
RAM: what type, capacity, and speed are needed?
Match RAM generation to motherboard support; different DDR generations are physically and electrically incompatible. Note the maximum RAM the board supports and how many channels (dual, quad) it uses—installing modules in the right slots preserves channel mode and performance. If mixing module sizes or brands, try to match speeds, voltages, and timings; mismatched modules typically run at the slowest module’s parameters. Consult the motherboard’s QVL (Qualified Vendor List) for memory models tested for stability, especially when using high-speed kits or XMP/EXPO profiles.
Storage (SSD/HDD): which interfaces and considerations matter?
Identify available storage interfaces: SATA ports for HDDs/SSDs and M.2 or U.2 slots for NVMe drives. Determine whether an M.2 slot supports NVMe (PCIe) and/or SATA M.2, and check for any lane-sharing that disables other ports when populated. For NVMe SSDs, confirm the motherboard and OS support NVMe booting if you plan to use it as a system drive. Consider physical constraints like M.2 heatsinks, and whether a long 2.5” drive cage or adapter will fit. Also check whether older cases and adapters require specific cables or mounting hardware.
Power and cooling: how to size PSU and manage thermal needs?
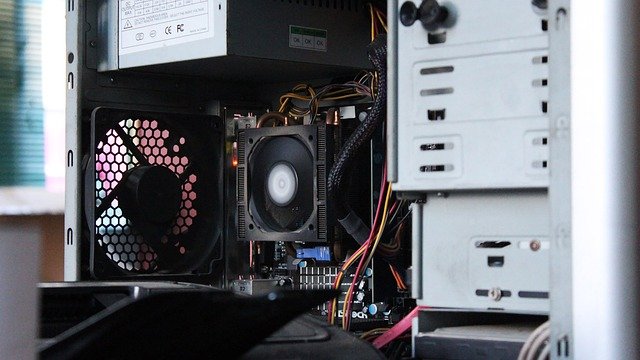
Estimate power draw by combining the CPU and GPU TDPs, plus drives, fans, and peripherals, then add 20–30% headroom for reliability. Ensure the PSU provides the correct connectors (CPU 4/8-pin, PCIe 6/8-pin, SATA power) and adequate amperage on the +12V rail. For cooling, check CPU cooler height limits and radiator clearance if using an AIO liquid cooler, and confirm case airflow can handle increased thermal output. Review component thermal specifications and plan fan or airflow upgrades if temperatures approach thermal limits under load.
Connectivity and peripherals: what ports and headers are essential?
Review onboard connectors: front-panel USB headers, audio headers, and internal USB-C or USB 3.x headers needed for cases and accessories. Confirm network support (Ethernet speed, Wi‑Fi module compatibility) and whether you need additional expansion cards for specific ports or capture devices. Check monitor outputs on a GPU against your displays’ inputs and confirm any adapter needs. For custom or specialty peripherals, ensure the motherboard has the required lane availability and that drivers are available for your OS.
Upgrades go smoothly when planning includes electrical, mechanical, firmware, and software compatibility checks. Use the motherboard manual and manufacturer support pages as primary references, cross-check part physical dimensions, and factor in power and cooling headroom. A careful pre-upgrade checklist reduces installation time, prevents component conflicts, and helps preserve both performance and hardware longevity.


