Safety and ESD Precautions During Hardware Installation
Handling and installing PC hardware requires attention to electrostatic discharge (ESD) risks, safe workspace setup, and careful component procedures. This overview explains practical ESD precautions and safety steps for working with a motherboard, CPU, GPU, RAM, PSU, storage devices, and firmware updates to reduce damage and ensure reliable operation.

What is ESD and why it matters
Electrostatic discharge (ESD) is a sudden flow of electricity between two objects with different electrical potentials. Small discharges that are imperceptible to you can damage sensitive electronics on a motherboard, NVMe modules, or a GPU’s PCB. Preventing ESD reduces the chance of latent faults that appear later as instability, boot failures, or data corruption. Use grounded practices and awareness of insulating materials like carpets, plastic bags, and some clothing when handling components.
How to prepare the workspace for motherboard and components
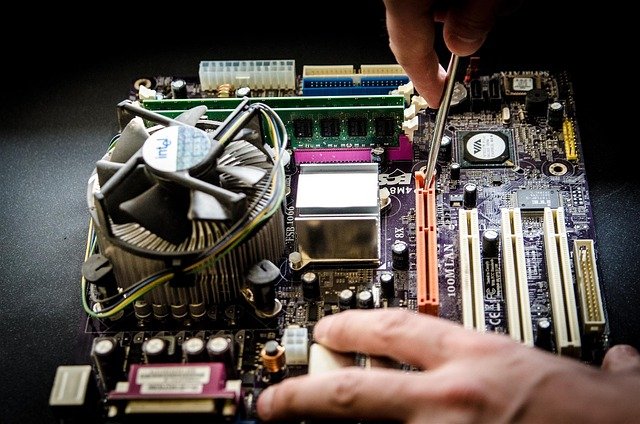
Set up a clean, well-lit workspace on a non-conductive, stable surface. Avoid carpeted areas and keep liquids, food, and magnets away from parts. Remove packaging only when you are ready to install and place the motherboard on an antistatic bag until mounting. Organize screws and small parts in a container and have the correct screwdrivers, standoffs, and thermal solutions available. Proper preparation helps prevent mechanical damage to the motherboard and ensures correct formfactor alignment in your case.
What to do when installing CPU, cooling, and BIOS steps
When fitting the CPU, follow the socket orientation markers and never force the chip into place. Apply thermal compound per the cooler manufacturer’s guidance and attach the cooling solution evenly to avoid uneven pressure that could bend pins or stress the socket. After assembly, enter the BIOS to confirm correct CPU detection, clock defaults, and thermal readings. If a BIOS update is required for newer CPUs, follow manufacturer instructions exactly and avoid power interruption during firmware flashing.
How to handle RAM, GPU, and form factor constraints
Install RAM modules according to motherboard channel recommendations to enable dual- or quad-channel operation, seating modules until the retention clips click. For GPU installation, ensure the case’s formfactor and PCIe slot alignment are compatible and that the power supply has the correct PCIe connectors. Check that large coolers or tall memory sticks do not conflict with GPU clearance. Proper seating and checking for mechanical obstructions prevent electrical shorts and physical stress on components.
PSU, NVMe, SATA connections and thermal considerations
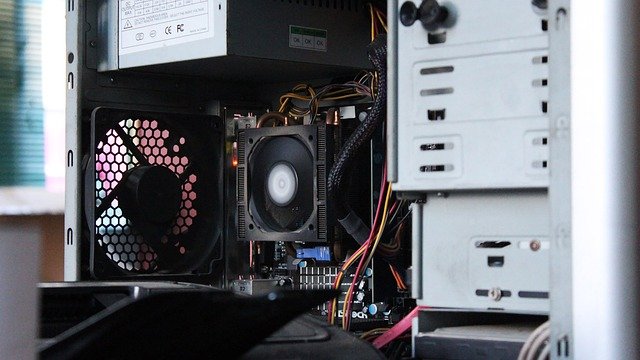
Select a PSU with adequate wattage and the necessary connectors for your GPU and storage. Route cables to avoid airflow blockage and secure connections to prevent intermittent power issues. For storage, install NVMe drives on designated M.2 slots with correct standoffs and consider thermal pads or heatsinks for sustained workloads; SATA drives should be secured to reduce vibration. Monitor thermal behavior after first boot to ensure fans and airflow are adequate and that no connectors are warm to the touch.
Firmware, drivers, upgrading and post-install checks
After hardware is assembled, install or update firmware (BIOS/UEFI) and drivers in a controlled sequence: motherboard firmware first, then chipset and storage drivers, followed by GPU drivers and peripheral updates. Verify system stability with stress tests and monitor event logs for errors. Keep firmware images from official sources and avoid nonstandard utilities that risk corrupting firmware. When upgrading components later, recheck seating, ESD precautions, and compatibility to maintain reliability.
Practical ESD precautions and handling tips
Wear a grounded wrist strap when possible and periodically touch a grounded metal surface to equalize charge if a strap is unavailable. Handle boards by edges, avoid touching pins and exposed contacts, and keep components in anti-static packaging until use. Use conductive or dissipative mats and ensure your power is unplugged when connecting or removing internal parts. Small habits—like working on a wooden table and touching the case chassis before handling components—significantly lower ESD risk.
Conclusion
Careful preparation, consistent ESD precautions, and methodical installation steps reduce the chance of damaging sensitive hardware and improve long-term system stability. Paying attention to workspace setup, correct seating of motherboard, CPU, RAM, GPU, secure power and storage connections, and cautious firmware updates will help ensure a successful build or upgrade without avoidable faults.


